
Hello esp32: getting started with the esp32 and micropython
The esp32 is a small 32 bit realtime microcontroller with 160mhz of processing power, several megs of flash and last but not least, bluetooth and wifi that’s available for about $6 a pop and can be programmed using both the Arduino language and MicroPython. Today we’ll be going through the setup procedures including how to flash firmware, getting your code onto it and the available peripherals and ecosystem.
What esp32 should I buy?
There are dirt cheap ones on amazon $ and this includes ones with different peripherals sets like oled screens $ and lora $ . While you can go bottom of the barrel here, I wouldn’t go any cheaper than the “HiLetGo” brand and even those tend to mediocre quality.
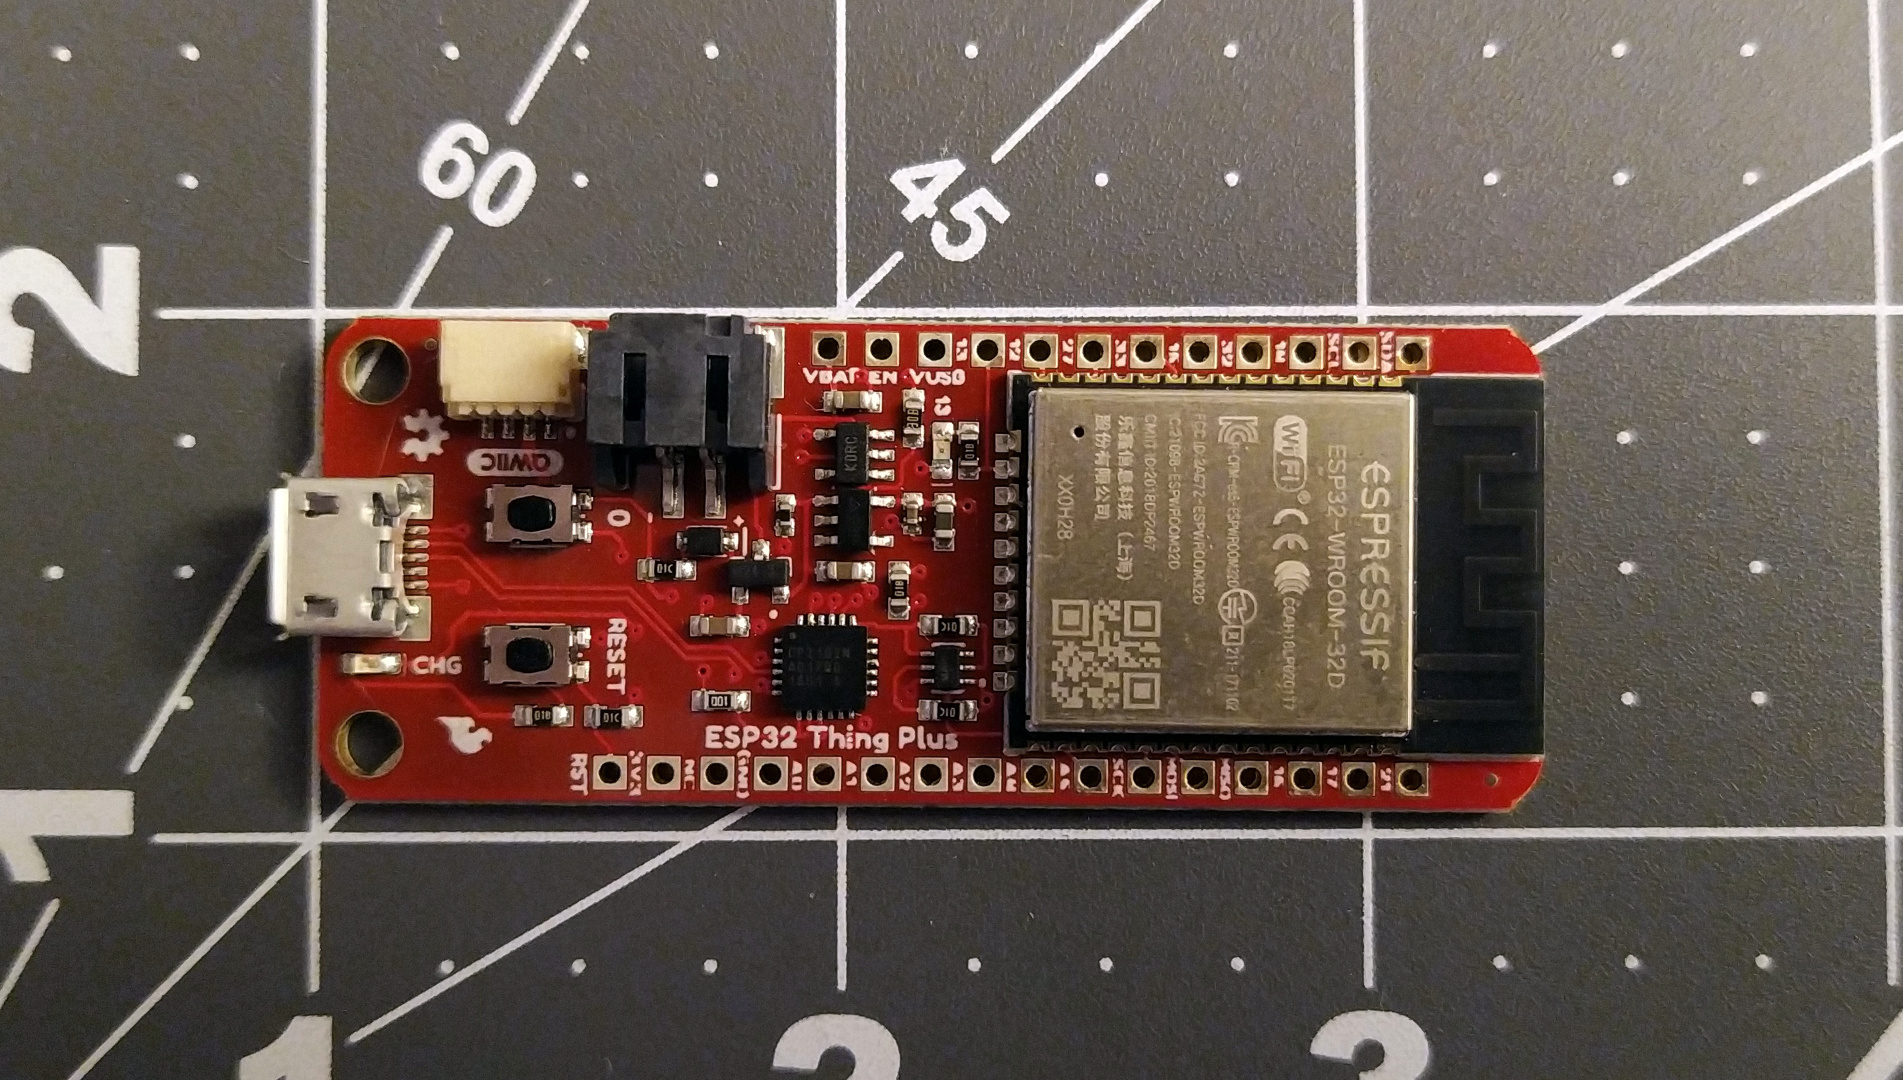
You can also get one through sparkfun though they’re a bit more expensive, but they work consistently and have the correct auto-reset behaviors (which means no needing to hold down reset buttons during connecting or flashing).
You’ll also need a standard usb micro-b cable. I’ve found that even nice esp32 units are extremely picky about the cables they use, but I’ve had the best luck with very simple cheap cables like these $ . If you’re on a recent mac, you’ll need usb-c to usb-a adapters $ if you don’t have them already.
Why do I want to use MicroPython? Why not Arduino or CircuitPython?
Arduino for the esp32 is.. fine. If it’s what you’re used to, and you want an easy environment then it’s a fine choice. However, Arduino is more or less it’s own language and it’s not the most expressive. Using a python variant allows much more powerful syntax and makes many abstractions much easier - and python is a fairly universal language.
CircuitPython is a fork of MicroPython. There’s nothing wrong with.. except that it has no support for the actual esp32 directly - just some of the clones. So we’re just out of luck there if we want to use the legitimate (and very cheap) esp32 units.
That leaves us good old MicroPython. It works on both the esp32 and it’s little sibling the esp8266. It’s pretty close to normal python, the gotchas being a lack of “current working directory” which will mess with imports and no __future__ module.
Ok, how do I flash me some firmware?
Firmware is the magical code that makes our esp32 act like a useful microcontroller instead of just a hunk of metal and plastic. First we need to download our MicroPython firmware.
Once we have it, we need our toolchain. We’ll use pipx to easily install our tooling in virtualized environments.
- Get ourselves our firmware flashing utility
pipx install esptoolsource - Install a shell for us later
pipx install rshellsource - We’ll want picocom from our package manage:
brew install picocomfor mac orapt install pipcocomon Ubuntu/Debian. - We may need our knockoff ftdi drivers. Note that I had a bitch of a time here and had to try a few different versions to find one that worked. You will likely need to reboot after installing this.
Good, now let’s do the actual flash. Go ahead and connect our esp32 to our machine via usb. If you get a popup about expired kernel extensions on mac, click through it.
-
First, let’s confirm our device is around
esptool.py flash_idResponse should be something like:
 esptool.py v2.8
 Found 3 serial ports
 Serial port /dev/cu.SLAB_USBtoUART
 Connecting......
 Detecting chip type... ESP32
 Chip is ESP32D0WDQ5 (revision 1)
 Features: WiFi, BT, Dual Core, 240MHz, VRef calibration in efuse, Coding Scheme None
 Crystal is 40MHz
 MAC: 98:f4:ab:13:42:39
 Uploading stub...
 Running stub...
 Stub running...
 Manufacturer: c8
 Device: 4018
 Detected flash size: 16MB
 Hard resetting via RTS pin...
Take note of that line Serial port /dev/cu.SLAB_USBtoUART since that tells us where our mcu is. I’ll be using that particular port entry on these next lines, but you may need to update it to reflect your port.
If you have issue with this step, try a few usb cables (again, the esp32 is amazingly picky about cables and most expensive ones I had didn’t work). Also make sure your drivers from (4) above are correct.
- Now let’s flash a clean firmware,
esptool.py --chip esp32 --port /dev/tty.SLAB_USBtoUART --baud 460800 write_flash -z 0x1000 path/to/my/firmware/bin.
Again, the response should take a few minutes to load the firmware and look like:
esptool.py v2.8
Serial port /dev/tty.SLAB_USBtoUART
Connecting....
Chip is ESP32D0WDQ5 (revision 1)
Features: WiFi, BT, Dual Core, 240MHz, VRef calibration in efuse, Coding Scheme None
Crystal is 40MHz
MAC: 98:f4:ab:13:42:39
Uploading stub...
Running stub...
Stub running...
Changing baud rate to 460800
Changed.
Configuring flash size...
Auto-detected Flash size: 16MB
Flash params set to 0x0240
Compressed 1448240 bytes to 925561...
Wrote 1448240 bytes (925561 compressed) at 0x00001000 in 21.9 seconds (effective 529.9 kbit/s)...
Hash of data verified.

Leaving...
Hard resetting via RTS pin...
- Let’s go ahead and confirm everything is working. We’re going to use
picocomto connect over our usb cable and talk to our chip in a realtime mode called “REPL”:picocom /dev/tty.SLAB_USBtoUART -b 115200
The initial response will look like this:
 picocom v3.1

 port is        : /dev/tty.SLAB_USBtoUART
 flowcontrol    : none
 baudrate is    : 115200
 parity is      : none
 databits are   : 8
 stopbits are   : 1
 escape is      : C-a
 local echo is  : no
 noinit is      : no
 noreset is     : no
 hangup is      : no
 nolock is      : no
 send_cmd is    : sz -vv
 receive_cmd is : rz -vv -E
 imap is        :
 omap is        :
 emap is        : crcrlf,delbs,
 logfile is     : none
 initstring     : none
 exit_after is  : not set
 exit is        : no

 Type [C-a] [C-h] to see available commands
 Terminal ready
Go ahead and press the enter key a few times until you get a >>> prompt.
- Let’s get connected to wifi and enable our web ui. Type the following lines:
import network
wlan = network.WLAN(network.STA_IF)
wlan.active(True)
wlan.connect('your wifi name here', 'your wifi password here')
import webrepl
import webrepl_setup
(at the prompt select E for enable)
(give it a simple password)
webrepl.start()
- Good, now we can exit our shell (ctrl+a ctrl+x) and open the hosted WebRepl in our favorite browser. Give it the ip and port from the previous step and enter your password when prompted.
Awesome, we’re all connected up and our device is running! We can use the webrepl for simple tasks, and even upload code here if we want to!
How do I upload code?
Again, we can use the webrepl and if you’re a beginner that may feel more comfortable.. but for most devs that’s going to feel very slow and clunky. It’s much easier to use rshell to flash our python code.
Let’s write a simple program. Create a folder called src somewhere, and in that folder let’s make a boot.py file with the following contents:
def main():
  print('hello world')

if __name__ == "__main__":
  main()
You’ll notice this looks a whole lot like python’s hello world normally does! We’re defining a main function and calling it just like we would in any other python program. Ok, let’s upload our code.
- Connect using rshell:
rshell -p /dev/tty.SLAB_USBtoUART -b 115200 - Now we can
cpour code from src to the boardcp -r src/* /pyboard - Exit out of the shell with ctrl+a ctrl+d
Easy! Except, this is still multiple steps. Let’s do better. Create a folder alongside src and call it scripts. Inside we’re going to create a upload.rsh file and it’s contents will be:
cp -r src/* /pyboard
And then we modify our rshell command from earlier like so: rshell -p /dev/tty.SLAB_USBtoUART -b 115200 -f scripts/install.rsh.
In fact, if we want to be very clever and make life easy on ourselves, we can just drop all of these long commands in a makefile.
- Go ahead and create a new file called
makefile - Add the following contents:
upload:
  rshell -p /dev/tty.SLAB_USBtoUART -b 115200 -f scripts/upload.rsh
.PHONY: upload

terminal:
  picocom /dev/tty.SLAB_USBtoUART -b 115200
.PHONY: terminal
Now we can just call make upload or make terminal as we need to! Note that makefiles are very particular about indenting so if you encounter enters, make sure you’re using the tab character and indenting lines 2 and 6 a single tab.
Repos
You can see a sample starter repo here. Feel free to clone it. While this will get you running with MicroPython, we haven’t covered some important basics like fixing imports or using libraries yet.