
TS80 Soldering Iron

The TS80 is a portable, somewhat finicky Chinese manufactured soldering iron which is powered over a USB-C port. It heats quickly, holds its temperature very well, is extraordinarily handy and is one of my favorite soldering irons to date. If you’re still using an old corded unit and you’re like me and frequently doing small amounts of soldering in weird places, I encourage you to pick it up and give it a try. There are several kits available on Amazon but I recommend buying a minimal set $ to start with and providing your own charger (or at least buying a decent one).
As a heads up, the TS80 does not work with USB PD. That is to say, if you have a very fancy charger for your macbook or high end phone, it probably won’t charge the TS80 at all. Instead you need a slightly stupider charger, such as a QC3.0 or QC2.0 charger.
Configuring
You can use the two buttons to awkwardly navigate through the settings menu, but by simply plugging the TS80 into any computer you’ll be able to see an unnamed usb drive appear with a single text file called config. Edit that file with your favorite editor and eject the drive - no tiny button fussing required.
Updating Firmware
When you first get your TS80, you’ll likely find it’s exceptionally picky about where you plug it in. Frequently it’ll show “Low Voltage” warnings and refuse to heat.
The fix to this problem is easy. There is updated official firmware available, but more than likely you’ll want to use the Ralim Firmware.
Head to the Ralim Releases Page, find the latest entry ending in hex and with your desired language - if you’re reading this blog post you probably want a file called TS80_EN.hex. Go ahead and download that somewhere handy.
Now you’ll need to start with your TS80 iron turned off and unplugged. Hold the bottom button and plug the iron into your computer. The lcd screen on the TS80 should now show “DFU X.X.X”. Again we’ll have our unnamed usb drive but this time it will be empty. Drag and drop your TS80_EN.hex file from earlier and the USB device will disconnect (and if you’re on macOS, you’ll get fussed at for your failures) before reconnecting and you should now see a TS80_EN.rdy file which is the bootloaders way of letting you know everything went well.
Congrats! You can now disconnect your iron (gracefully this time if you’d like) and get to soldering.
Accessories
As with any soldering iron, you’ll need a stand. I make use of the Hakko soldering stand $ with a soldering coil for cleaning the iron. You can see I’ve cable tied on a silicone cable so it’s always handy and doesn’t get in the way of my projects.

You can easily get the stand on Amazon, as well as the coil and a 2-pack of the silicone cables $ I use.
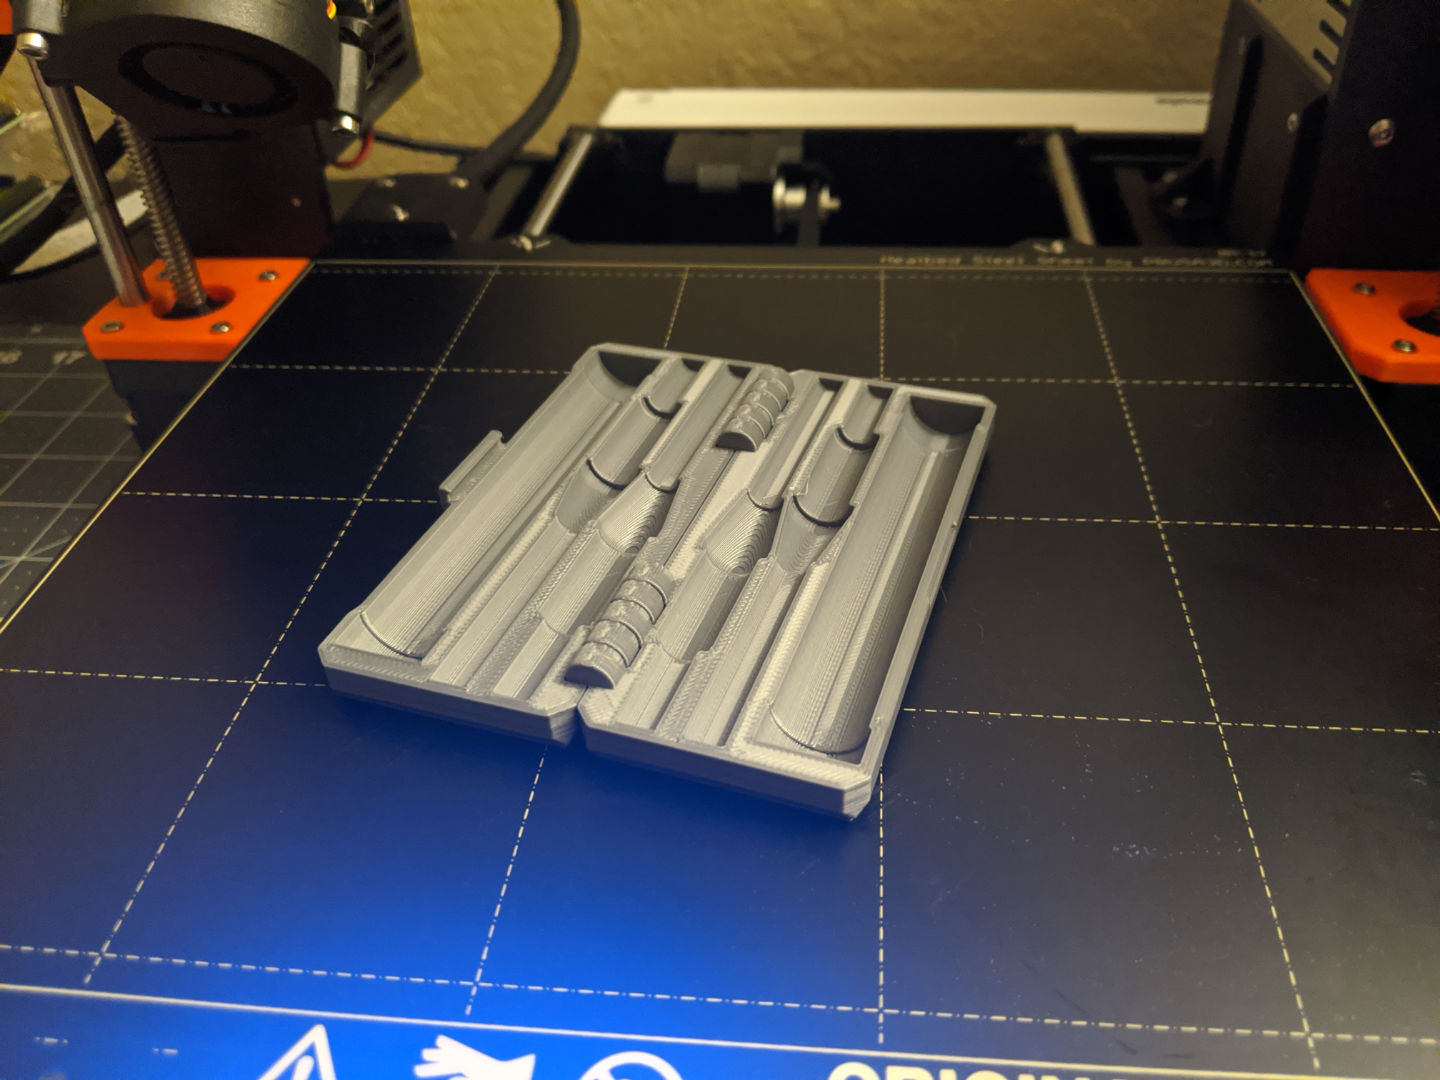
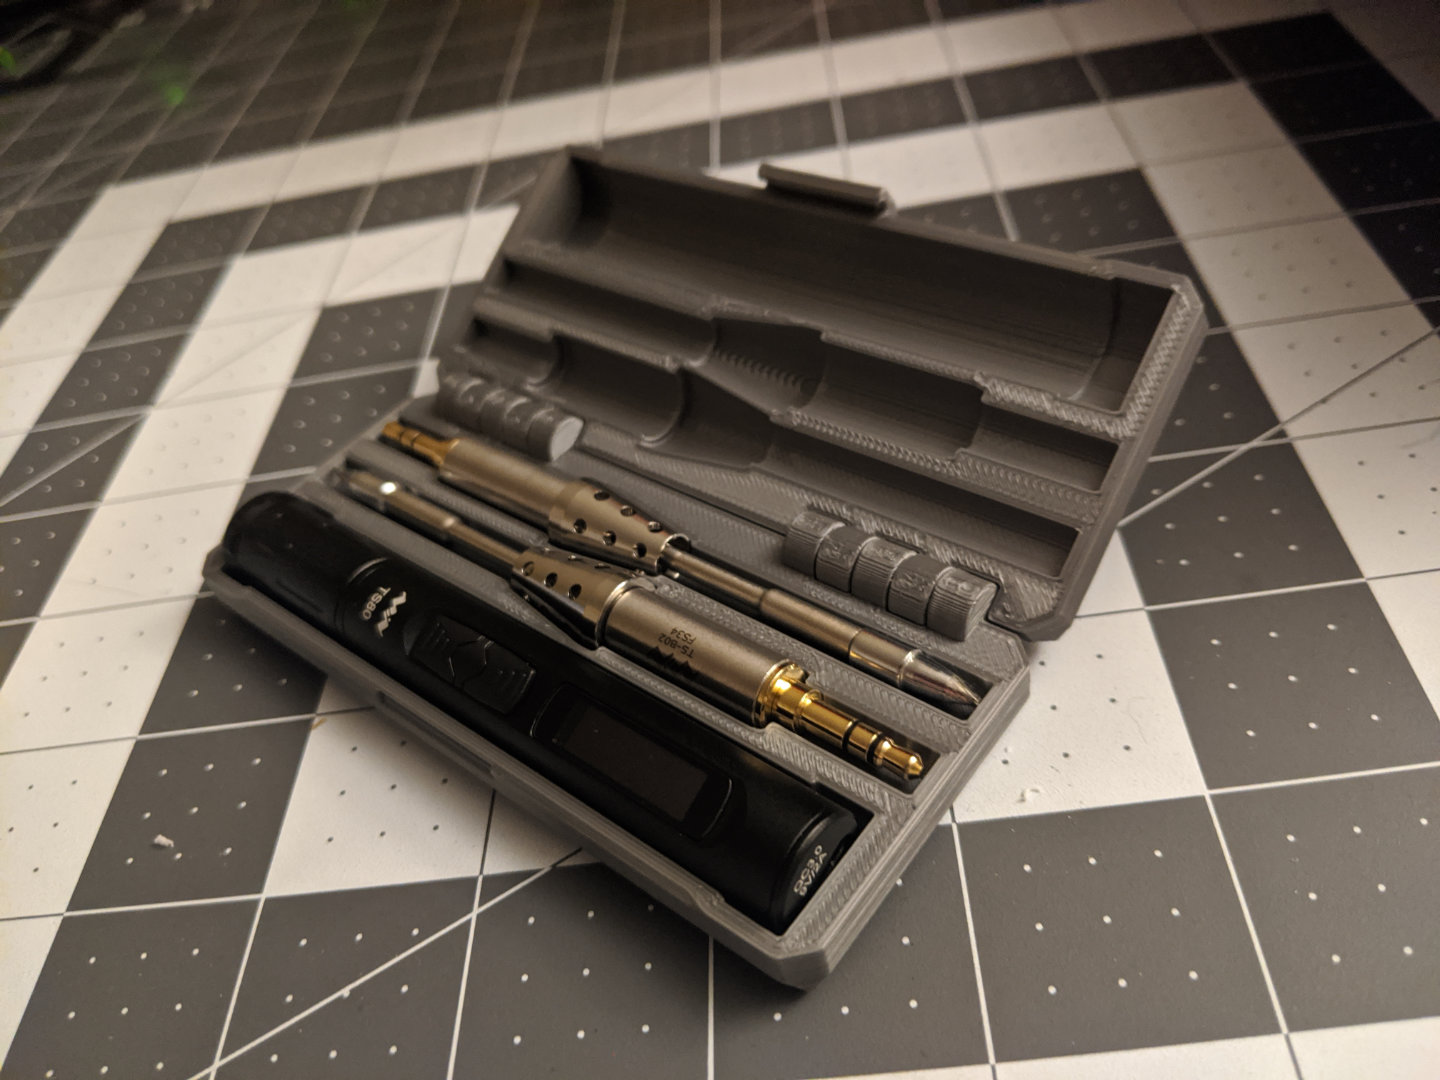
I also recommend taking some time to print a case if you have a 3d printer. I printed this one by pbtec on Thingiverse. It’s an easy print, very compact and holds both the main unit and two tips.

If you have a 3d printer and find yourself sometimes heat setting thread inserts (which is great for adding reliable threads to 3d prints!) then I recommend getting a D25 tip $ . It’s a wider chisel tip and makes setting inserts quick and painless, plus it’s super easy to set the TS80 to the exact temperature for your current filament.